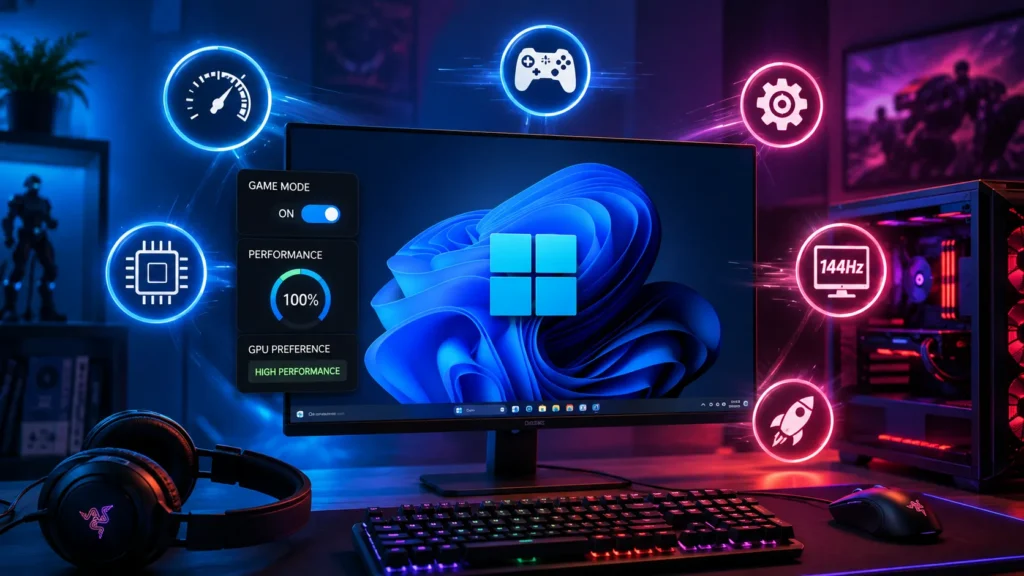
Windows 11 has several built-in settings that can affect gaming performance, GPU selection, display behavior, and background activity. A few changes can help when you’re dealing with low FPS, stuttering, input delay, or a game running on the wrong GPU.
This guide covers the Windows 11 settings worth checking before you start changing advanced system options. The steps are suitable for both desktop PCs and gaming laptops.
#1. Update Windows and Your Graphics Drivers
Start with Windows and GPU updates. A graphics driver can affect game performance, compatibility, and stability, especially after a new game release.
Update Windows 11
- Press Windows + I to open Settings.
- Go to Windows Update.
- Select Check for updates.
- Install available updates.
- Restart your PC if Windows asks you to.
You can also check optional driver updates under Windows Update when they are available.
Update your GPU driver
If you have an NVIDIA, AMD, or Intel GPU, check the manufacturer’s software or website for the latest driver.
For example:
- NVIDIA: NVIDIA App
- AMD: AMD Software: Adrenalin Edition
- Intel: Intel Driver & Support Assistant
After installing a new graphics driver, restart your PC before testing your games.
#2. Turn On Game Mode
Windows 11 includes Game Mode under its Gaming settings. Microsoft lists Game Mode as a Windows gaming setting designed to manage system performance during gaming sessions.
To turn it on:
- Open Settings.
- Select Gaming.
- Select Game Mode.
- Turn Game Mode on.
Game Mode is a simple setting worth keeping enabled on a gaming PC.
It does not replace a good GPU, CPU, or enough RAM. Its job is to help Windows handle gaming activity appropriately.
#3. Set Your Game to the High-Performance GPU
This setting matters most on laptops and PCs with more than one GPU.
For example, a gaming laptop may have integrated graphics for everyday tasks and a dedicated NVIDIA or AMD GPU for games. If a game uses the lower-power GPU, performance can suffer.
Windows 11 lets you select a graphics preference for individual games, including High performance when multiple GPUs are available.
How to select the high-performance GPU
- Open Settings.
- Go to System > Display > Graphics.
- Find your game under the installed apps list.
- Select the game.
- Click Options.
- Select High performance.
- Click Save.
- Restart the game.
If the game isn’t listed, use the option to browse for its executable file.
This is one of the first settings to check if your laptop has a dedicated GPU but your FPS seems unusually low.
Also read: How to Increase FPS in Games: 15 Easy Ways
#4. Enable Optimizations for Windowed Games
Windows 11 has a setting called Optimizations for windowed games.
Microsoft says it improves performance for compatible DirectX 10 and DirectX 11 games running in windowed or borderless windowed modes. It can also reduce frame latency and work with features such as Auto HDR and variable refresh rate on supported displays.
How to enable it
- Open Settings.
- Go to System > Display > Graphics.
- Find Optimizations for windowed games.
- Turn it on.
- Restart your game.
You can also control this setting for an individual game.
Go to Settings > System > Display > Graphics, select the game, choose Options, and change the available graphics settings.
This setting is particularly useful if you play games in borderless or windowed mode.
#5. Check Hardware-Accelerated GPU Scheduling
Hardware-Accelerated GPU Scheduling, commonly called HAGS, changes how Windows handles GPU scheduling.
You may find the setting under:
Settings > System > Display > Graphics > Change default graphics settings
If HAGS is available on your PC, you can test it with your games.
The important part is testing rather than assuming one setting works best for every PC. GPU model, driver version, game engine, and other system settings can affect the result.
If you’re experiencing stuttering after changing HAGS, switch it back and compare the same game and settings.
For a useful test, record your FPS before and after the change. Pay attention to sudden drops and frame-time consistency as well as the average FPS.
#6. Set the Correct Display Refresh Rate
Your monitor may support 144Hz, 165Hz, 240Hz, or another high refresh rate, but Windows needs to be configured to use it.
A higher refresh rate can make compatible games look smoother and reduce motion blur.
How to change the refresh rate
- Open Settings.
- Go to System > Display.
- Select your gaming monitor.
- Select Advanced display.
- Find Choose a refresh rate.
- Select the highest supported rate you want to use.
For example, if your monitor supports 165Hz and Windows is set to 60Hz, you’re leaving the monitor’s higher refresh capability unused.
Also check your monitor’s connection. Some displays require a specific HDMI or DisplayPort connection to reach their maximum refresh rate.
#7. Disable Unnecessary Startup and Background Apps
Background applications can consume CPU, RAM, storage, and network resources while you’re gaming.
Windows lets you manage startup apps and control whether supported apps can run in the background.
Check startup apps
Open:
Settings > Apps > Startup
Review the apps that launch when Windows starts.
You can disable applications you don’t need running every time you boot your PC.
Common examples include:
- Unused launchers
- Messaging apps
- Cloud-sync software
- Utility programs
- Other applications that you rarely use
You can also close applications manually before starting a demanding game.
Check background activity
For supported apps, go to:
Settings > Apps > Installed apps
Select an app, open Advanced options, and look for Background app permissions. Windows provides options including allowing the app to run in the background or setting it to Never.
Don’t disable Windows services at random. If you don’t know what a service does, leave it alone.
#8. Choose the Right Power Mode for Gaming
Windows 11 provides different power modes, including Best power efficiency, Balanced, and Best performance.
For a desktop gaming PC, you can check:
Settings > System > Power & battery > Power mode
If your system provides Best performance, it can be useful when running demanding games.
For gaming laptops
Power mode matters more when you’re on battery.
For demanding games, connect the laptop to its charger and check the available power mode. Gaming on battery can limit performance depending on the laptop’s hardware and manufacturer settings.
You should also keep an eye on temperatures. If a CPU or GPU becomes too hot, it may reduce its clock speed to manage heat.
#9. Fix Common Windows 11 Gaming Problems
Different gaming problems can have different causes. Start with the symptom you’re seeing.
Low FPS
If your FPS is consistently lower than expected, check:
- Whether the game is using your dedicated GPU.
- GPU and CPU usage while playing.
- GPU driver updates.
- Windows power mode.
- Game graphics settings.
- Background applications.
- Your monitor refresh rate.
If the GPU is already running near full load, Windows settings alone may not produce a large FPS increase. Lowering demanding in-game settings such as shadows, ray tracing, and resolution can have a bigger effect.
FPS drops and stuttering
For sudden FPS drops, check:
- CPU and GPU temperatures
- Background applications
- GPU drivers
- Windows updates
- Power mode
- HAGS
- Game-specific graphics settings
Test one change at a time. This makes it easier to identify what actually fixed the problem.
Game feels laggy despite high FPS
Check your monitor’s refresh rate first.
Then check the game’s display mode, V-Sync settings, and VRR support if your monitor and GPU support it.
Windows 11’s windowed-game optimization can also be relevant when you’re using borderless or windowed mode. Microsoft says the feature can reduce frame latency for compatible DirectX 10 and DirectX 11 games.
Game is using the wrong GPU
Open:
Settings > System > Display > Graphics
Select the game and choose High performance under its graphics preference when that option is available.
Restart the game after saving the change.
#10. How to Check If Your Optimization Actually Worked
Don’t change 10 settings at once.
Test your PC before making changes, then test it again afterward using the same game, resolution, graphics settings, and gameplay area.
Record:
- Average FPS
- FPS during demanding scenes
- Stuttering
- Input response
- GPU usage
- CPU usage
- Temperatures
For example, if a game averages 90 FPS before a change and 91 FPS afterward, that setting made very little difference.
If the average FPS stays similar but stuttering disappears, the change may still have improved your experience.
This approach also prevents you from keeping settings that provide no benefit on your particular hardware.
Windows 11 gaming optimization checklist
Before launching a demanding game, check these settings:
- Windows 11 is updated
- GPU drivers are updated
- Game Mode is enabled
- The game uses the correct GPU
- Windowed-game optimization is enabled when appropriate
- Monitor refresh rate is set correctly
- Unnecessary startup apps are disabled
- Background apps are controlled
- Power mode is suitable for gaming
- Game performance has been tested before and after changes
These settings cover the main Windows 11 options that can affect a gaming setup without requiring risky system modifications.
FAQs
1. How do I optimize Windows 11 for gaming?
Update Windows and your GPU drivers, turn on Game Mode, select the high-performance GPU for your games, check windowed-game optimization, set the correct refresh rate, control background apps, and use an appropriate power mode.
2. Is Windows 11 good for gaming?
Yes. Windows 11 includes gaming features such as Game Mode, per-app GPU preferences, windowed-game optimizations, Auto HDR, and other display features.
3. Does Game Mode increase FPS?
Game Mode is designed to manage system performance during gaming. The FPS difference depends on the PC, game, and background workload, so it should not be treated as a guaranteed FPS boost.
4. Should HAGS be on or off for gaming?
There is no single setting that works best for every PC and game. If HAGS is available, test it with the games you play and compare FPS and stuttering before keeping the setting.
5. How do I make Windows 11 use my dedicated GPU?
Go to Settings > System > Display > Graphics, select your game, choose Options, select High performance, and save the setting. Restart the game afterward.